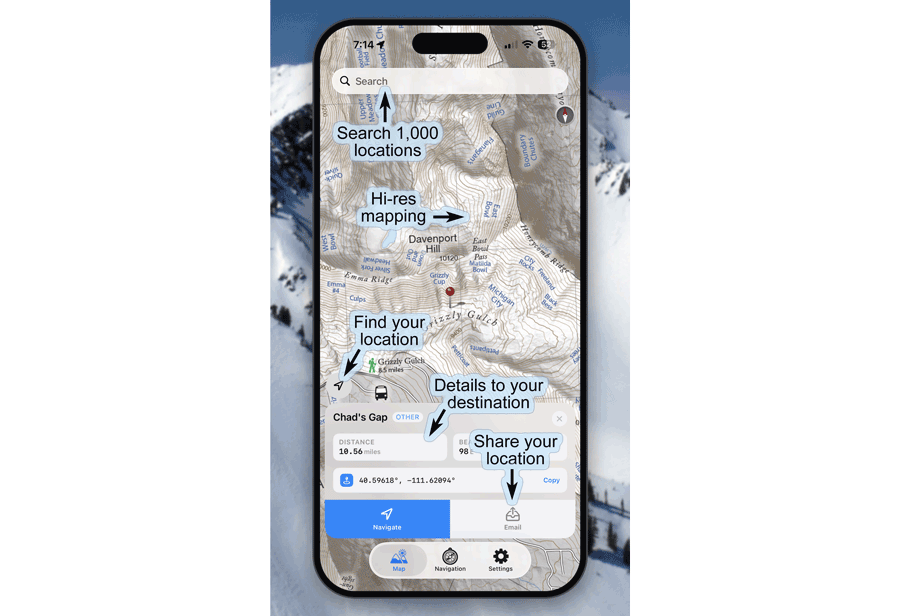
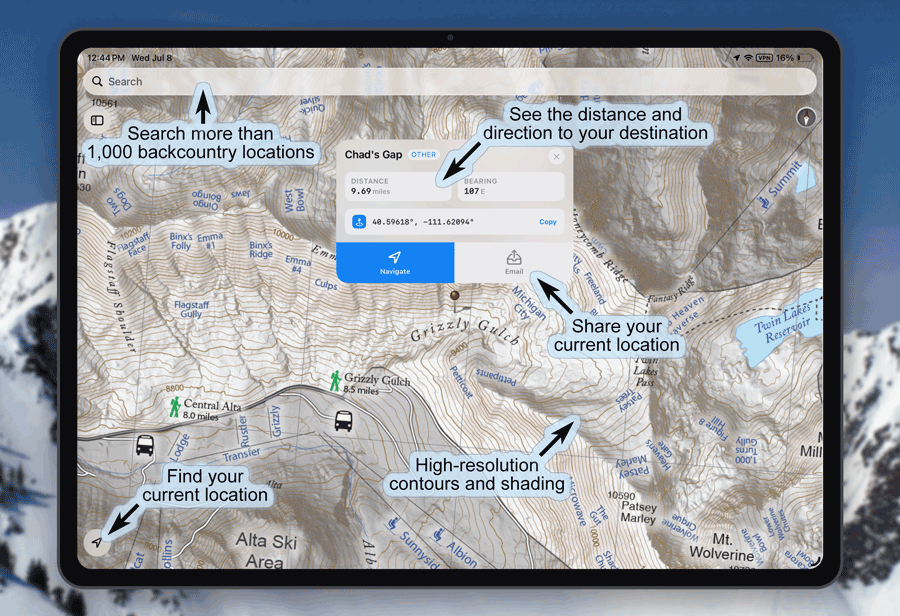
The Wasatch Backcountry Skiing iOS Map is a powerful implementation of the popular paper map, website, and Android app. As with the other platforms, the iOS map includes an index to more than 1,000 backcountry locations in Utah's Wasatch Front. See the terrain covered by the apps.
The app does not require cell service. It is available exclusively from the App Store.
This is the must-have app for Utah hikers and backcountry travelers.
Version 5.0 is a ground-up redesign built for modern iOS, with a sharper, more detailed map, faster and more reliable navigation, smarter search, and a cleaner waypoint experience. It makes finding and sharing backcountry locations even easier.
Every screen has been reengineered to be more responsive and intuitive, with enhanced iPad support that takes full advantage of larger displays. This release adds over 50 new locations and refines GPS precision across the 1,000+ existing landmarks.
A massive shout-out to Chad Wishner! Chad generously donated his unparalleled iOS coding skills to rewrite the app from the ground up for our community. If you ever need an exceptional iOS engineer, Chad is your guy!
To make sure you have the latest version, launch the App Store app, tap your icon in the upper-right, choose App Updates and then Update All.

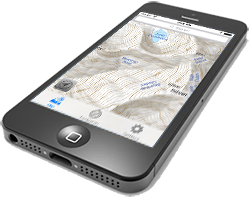
With a single tap from within the app, you can access information on more than 200 of the backcountry locations on the Wasatch Backcountry Skiing Guide website, including photographs, skiing difficulty, skinning distance, vertical climb, parking considerations, and more.
.png)
You can also visit WBSguide.com from any browser (be sure to check out its table of contents).
 Zoom in by double-tapping or by pinching; zoom out with a two-finger double-tap. Move the map by dragging the screen.
Rotate the map with a two-finger twist. When the map is rotated, a small compass is displayed in the upper-right corner to show the map's orientation. Tap on the compass to return to the north-up orientation.
 Tap on the search field and type a portion of the location name, then select a name from the list. A pin will be displayed on the map.
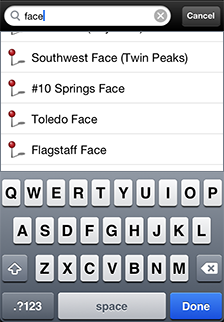
(Some location names are abbreviated and require appropriate search terms. For example, "Mount Olympus" appears in the list as "Mt. Olympus" so it won't appear in the list if you search for "Mount".)
Tap on a pin to display waypoint information. Tap on the Navigate button to begin navigating to that location.
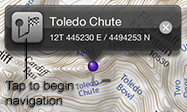
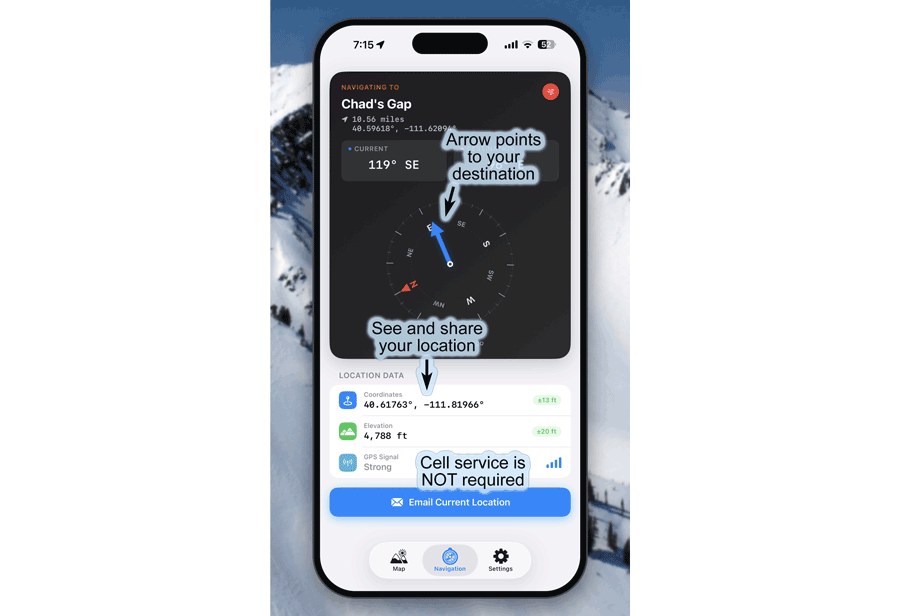
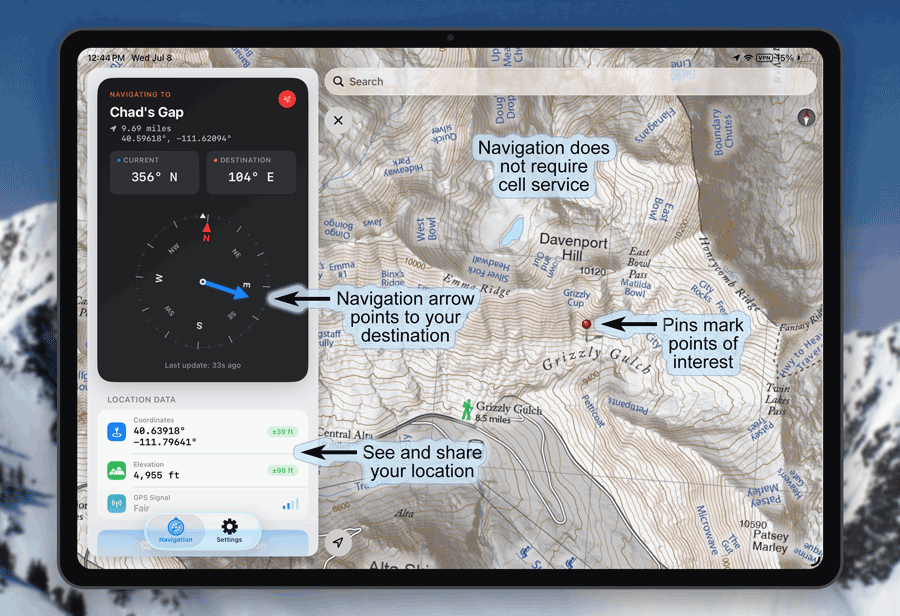
After tapping on the Navigate button, the navigation page will be displayed (you can also display the navigation page by tapping on the Navigation tab at the bottom of the screen). The navigation page displays information about the destination, and a blue arrow points toward the destination.
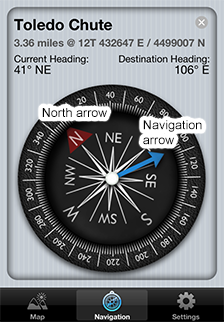
Important: The blue navigation arrow points toward the destination and does not consider avalanche danger, cliffs, rivers, rockfall, or any other hazards, and the iOS compass accuracy can vary widely. Backcountry travel can be dangerous—look at your surroundings to avoid "GPS tunnel-vision."
You can cancel navigation by tapping the button in the upper-right corner of the Navigation page or the End Navigation button in the waypoint display.
Your current location is displayed as a blue dot. Tap the current location button in the lower-left corner of the map to center your location on the map.
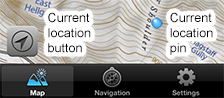
Tapping the current location button a second time orients the map relative to the earth. A flashlight-like fan extends from the current location dot to show the direction your device is pointing.

Tapping the current location button a third time, or tapping the small compass, returns to the north-up orientation.
To drop a temporary pin, press and hold anywhere on the map. You can then tap the Navigate button to begin navigation to the temporary pin.
Press the Email Current Location button at the bottom of the Navigation page to send an email containing your current location. You can also press and hold on the coordinates to copy your location to the iOS clipboard—handy when you want to text your location.
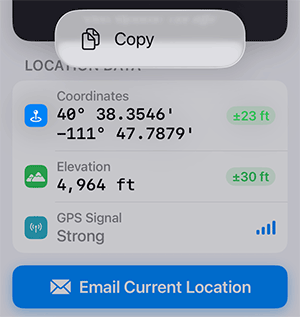
WBSkiing relies on GPS satellite reception to determine your location and to point to destinations. Cell service is not required.
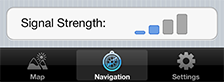
The GPS signal strength is displayed at the bottom of the navigation page.
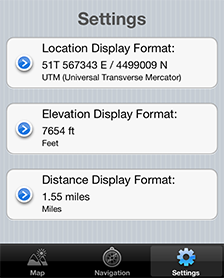
The Settings page lets you specify how coordinates, elevations, and distances are displayed.
Learn about troubleshooting the iOS version.